Complete a DIY Kitchen Backsplash Fast
Do you want to update your kitchen without spending a lot of money? If that sounds appealing, it’s easy to complete a DIY kitchen backsplash fast.
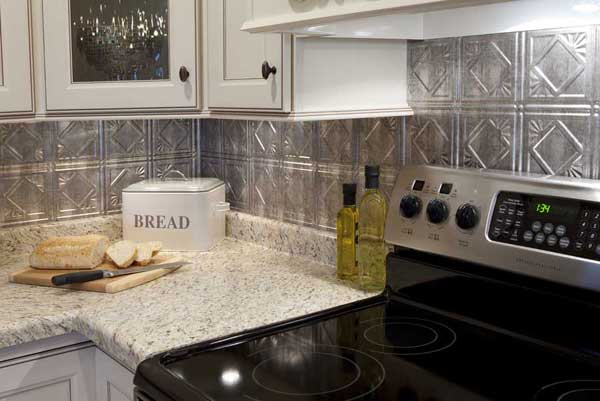
Installing a Fasade vinyl backsplash is one of the easiest DIY projects. Measuring 18” x 24” each, the decorative backsplash panels match any decor. They install with double-sided tape or tube adhesive, eliminating the hassle of grout.
To install Fasade, first prepare the area to be covered so that it is clean, dry, flat, smooth and free from dust, grease, etc. You may choose to paint the wall where the edge of panel meets cabinetry. Or install edge J-trim to avoid any gaps that show through. Do a dry layout to determine where panels will go. You can use scissors or tin snips to cut the panels to the necessary size.
Determine if you are going to install the panel using double-sided tape or tube adhesive. Regardless of which method you use, you will want to clean the backside of the panels using a paper towel or cloth and isopropyl alcohol. If using trim, slide the trim piece onto the edge of the panel. Apply glue or adhesive strips to the back and press the panel firmly into place when alignment is correct and squeeze out excess air. Finish installing the rest of the panels in the same fashion.
Note: Prior to installation, it is important to understand the overlap feature of each panel. Each panel has two 1/2″ flat edges (the longer flat edge is the top of the panel and shorter flat edge is the right side of the panel). Arrange all panels this way so additional panels can be added to the top or right side of any panel. When overlapping 4 panels, it is necessary to cut a 1/2″ notch in panels 2 and 3 to avoid an overlap buildup that causes a “bump.”
For ideas on how to use Fasade decorative backsplash panels, visit our galleries page.
Thinking of completing a DIY kitchen backsplash project? Let us know what you think in the comments!

