How to Install Backsplash Tile
There’s no doubt an attractive backsplash increases the beauty and value of your kitchen. But if you don’t know how to install backsplash tile that requires grout, it can be a challenge. In addition to the level of expertise required, your time and material costs are also factors. After you’ve chosen your tiles, you’ll need to stock up on materials and tools (see below).
Once you’ve assembled your materials and tools, the work begins. First, “dry fit” the tile on the floor or table to get an idea of the design and make sure it works in the space. Prepare the wall by removing switch plates and outlet covers and sand it to rough up the surface. Next, measure and mark the center of the visual focal point. Using the lever, draw a plumb starting line through the center mark.
Next, apply the mastic or thinset to the wall with the v-notched trowel, covering enough area for about 6-8 tiles. Place the first tile on the edge of the line you marked, pressing firmly. Be sure to leave room at the bottom where it will abut the countertop edge. You’ll be filling in that space with caulk at the end. Continue going outward on each side of that tile with the same technique. When you encounter a cabinet or other edge, you’ll need to cut tiles to fit the space. Using a full tile, place it in the space and mark where to cut using a tile cutter, snips or wet saw.
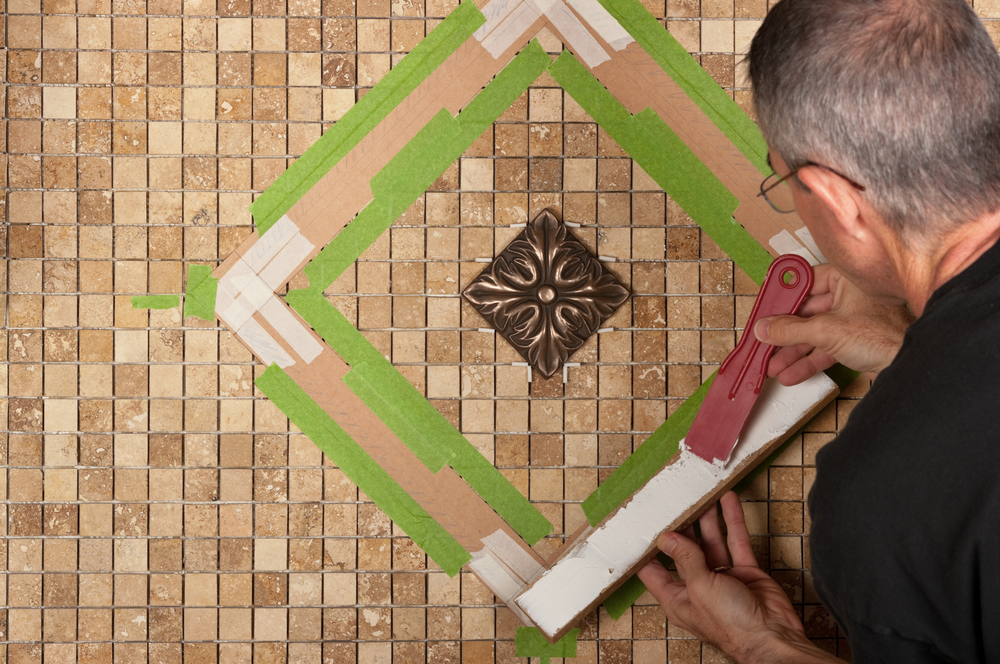
When all the tiles have been applied to the wall, allow the mastic to dry overnight. The following day, mix up a batch of grout, following the directions on the packaging. With a rubber grout float, pack the grout into the spaces between the tiles. Afterwards, clean the tiles with a sponge soaked with water, rinsing the sponge repeatedly. Wait for the grout to set, about 30-45 minutes. A thin, hazy film will develop. Wipe that off with a dry cloth until the tiles shine. Finally squeeze a thin bead of tub and tile caulk between the bottom edge of the tile and the built-in backsplash or countertop lip, in the corners and where tile meets cabinets.
Now, if you have the time, ambition and wherewithal to undertake installing a backsplash, go for it. But if you want to install a backsplash that’s less labor intensive, and less expensive, consider one of the many backsplash products offered at DIYdecorStore.com.
Fasade decorative thermoplastic panels are quick and easy to install and don’t require grout. You get a designer look for a fraction of the price of a traditional tile installation project. Aspect Peel & Stick metal, stone and glass tiles also require no grout and easily stick to any surface. They’re both projects the DIY’er can easily do in a weekend, adding value and beauty to your home with their striking elegance.
Tools Needed:
- Sandpaper
- A level
- Tape measure
- Rubber grout float
- Notched trowel
- Caulking gun
- Sponge and bucket
- Tile cutter or motorized wet saw
Materials needed:
- Tile mastic or thinset
- Caulk
- Tile grout
- Tile spacers
Have you completed a backsplash project? Let us know how that went and share in the comments!

